
Before you start
- Connect multiple sending accounts and confirm they are validated.
- Decide the maximum daily volume each account should handle.
- Use sender rotation with clean lists and reasonable campaign delays.
- For LinkedIn outreach automation, rotate activity across healthy accounts while keeping each account's daily behavior human-paced.
Steps
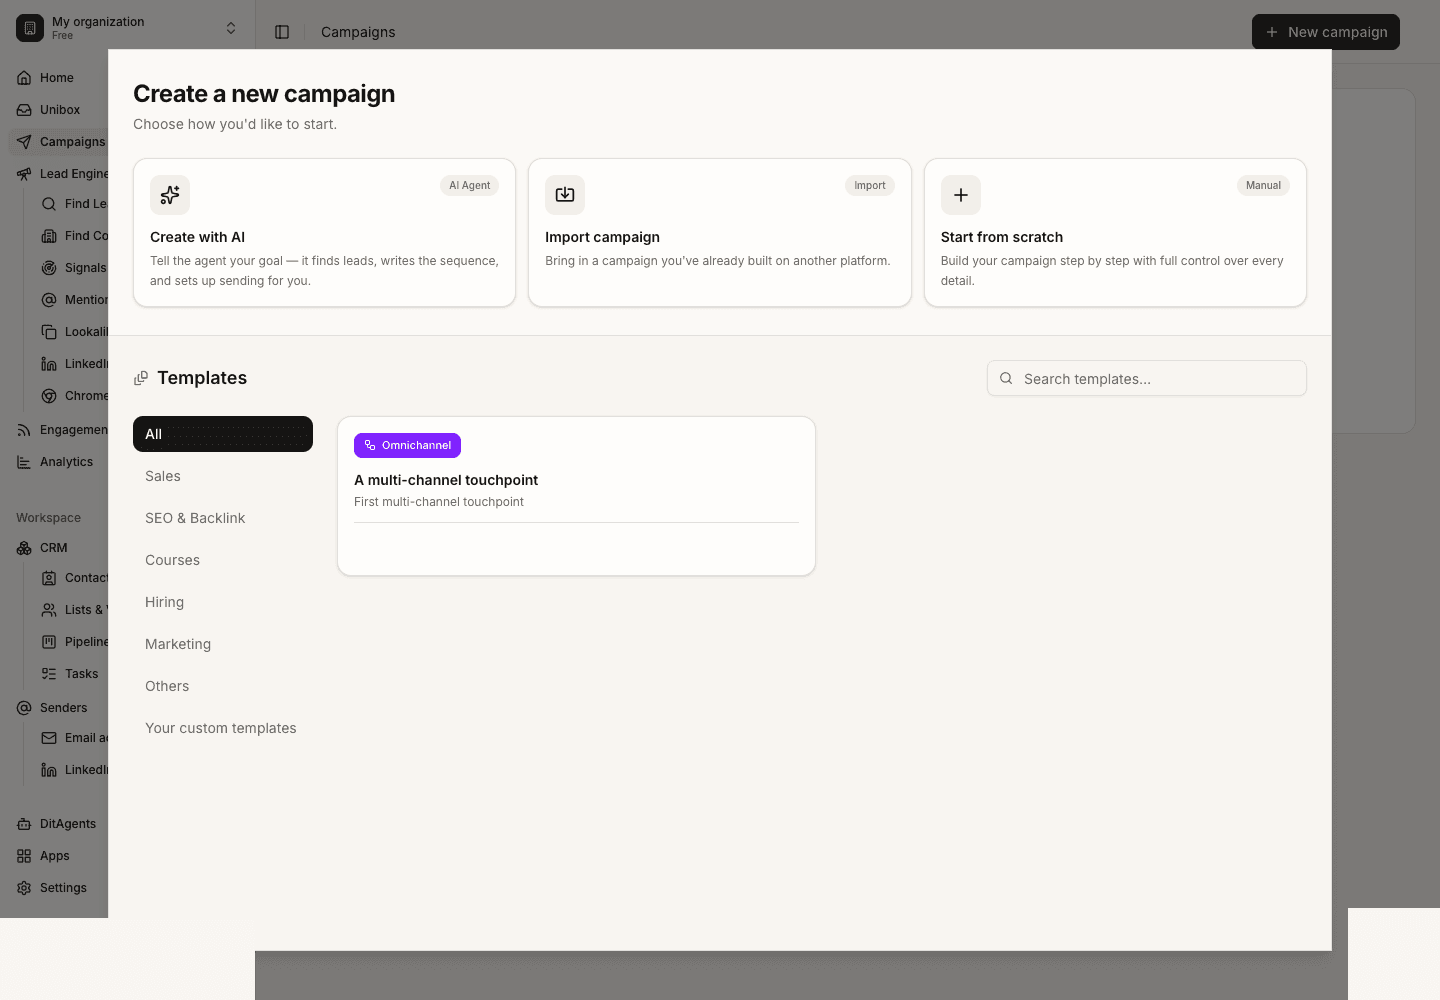
Open campaign sending settings
From a campaign, go to the sending or sender settings area. Sender rotation is configured per campaign so each workflow can use the right accounts.
Select sending accounts
Choose the mailboxes or LinkedIn channel accounts that should participate. Exclude accounts that are paused, unhealthy, or not meant for this audience, especially when automated LinkedIn outreach is part of the campaign.
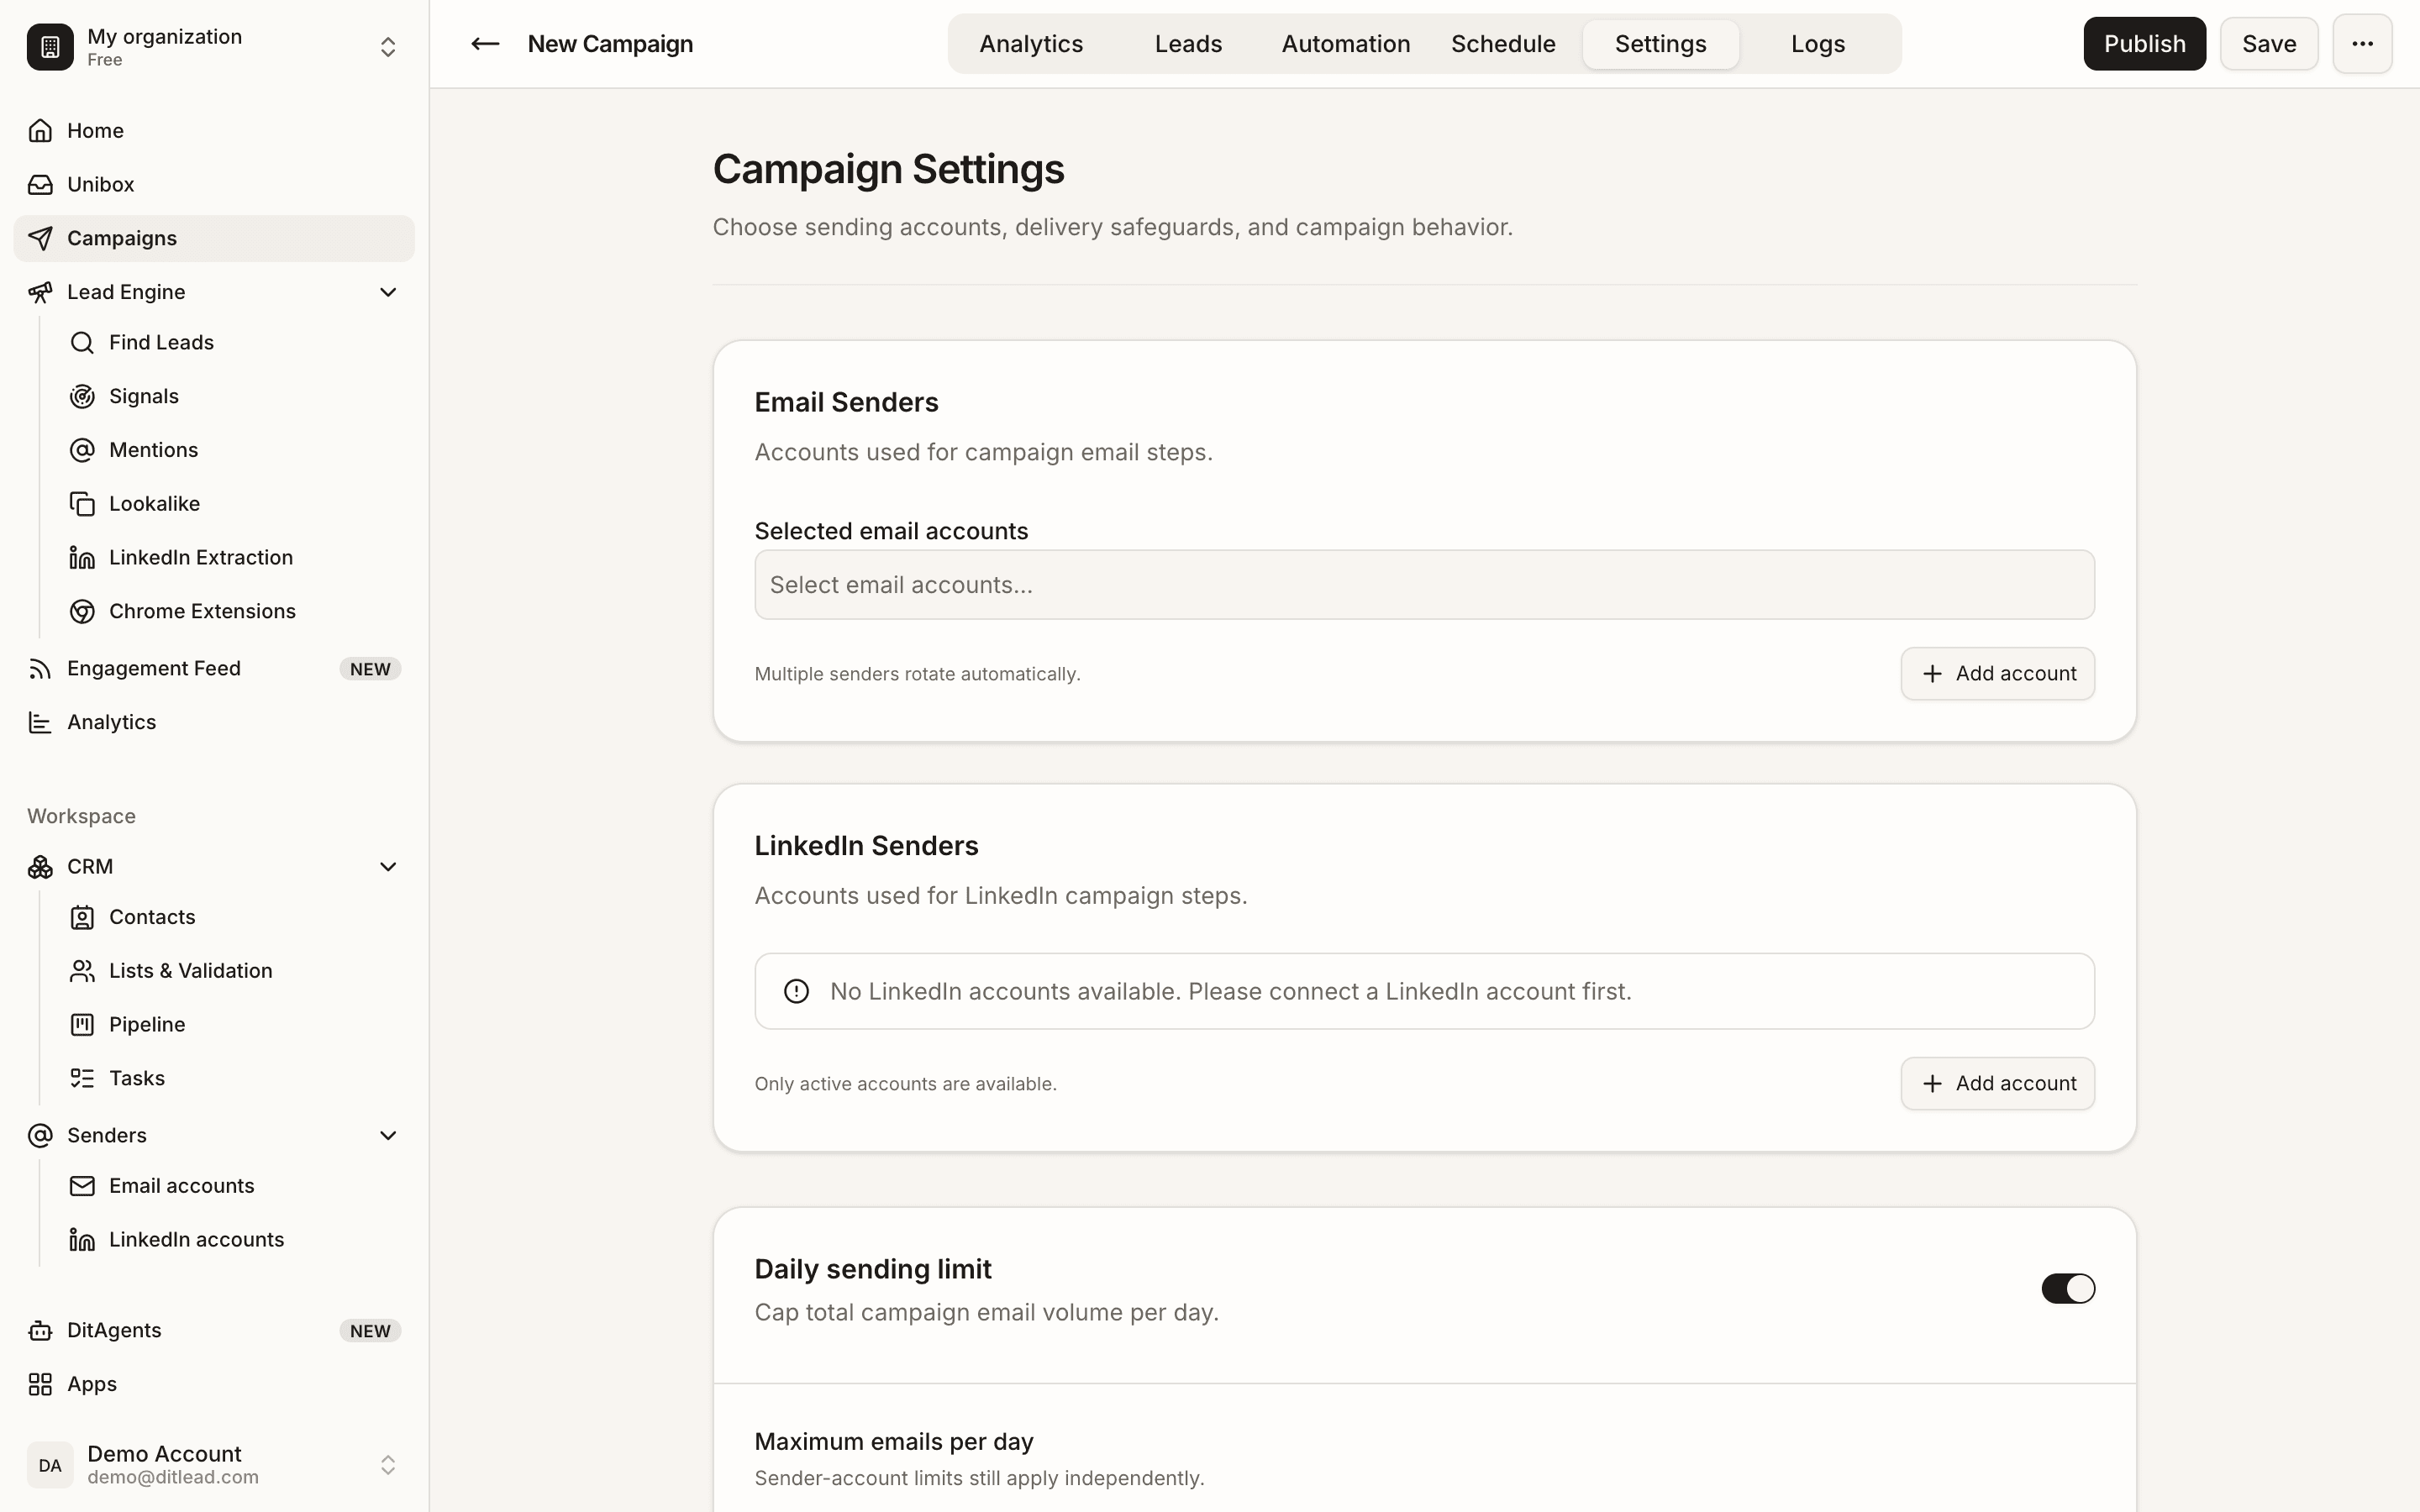
Set limits and rotation rules
Assign daily limits and rotation behavior. Spread volume across accounts instead of letting one mailbox carry the whole campaign.
Validate before launch
Run campaign validation and fix missing accounts, exhausted limits, disconnected mailboxes, or schedule conflicts before sending.
What happens next
FAQ
Does sender rotation guarantee deliverability?
No. It helps distribute volume, but list quality, domain setup, message content, and recipient fit still matter.
Does sender rotation apply to LinkedIn?
Yes. When LinkedIn outreach automation is part of the campaign, rotation and limits should protect each connected account instead of pushing one profile too hard.
Can one account be used in multiple campaigns?
Yes, but the total account limit still matters. Avoid overcommitting the same mailbox across too many active campaigns.
Review audience, senders, sequence copy, personalization, schedules, and validation blockers.