
Before you start
- Prepare a CSV with clear column names and one contact per row.
- Include email, first name, last name, company, LinkedIn URL, or any custom fields you plan to use.
- Remove contacts you are not allowed or ready to contact.
Steps
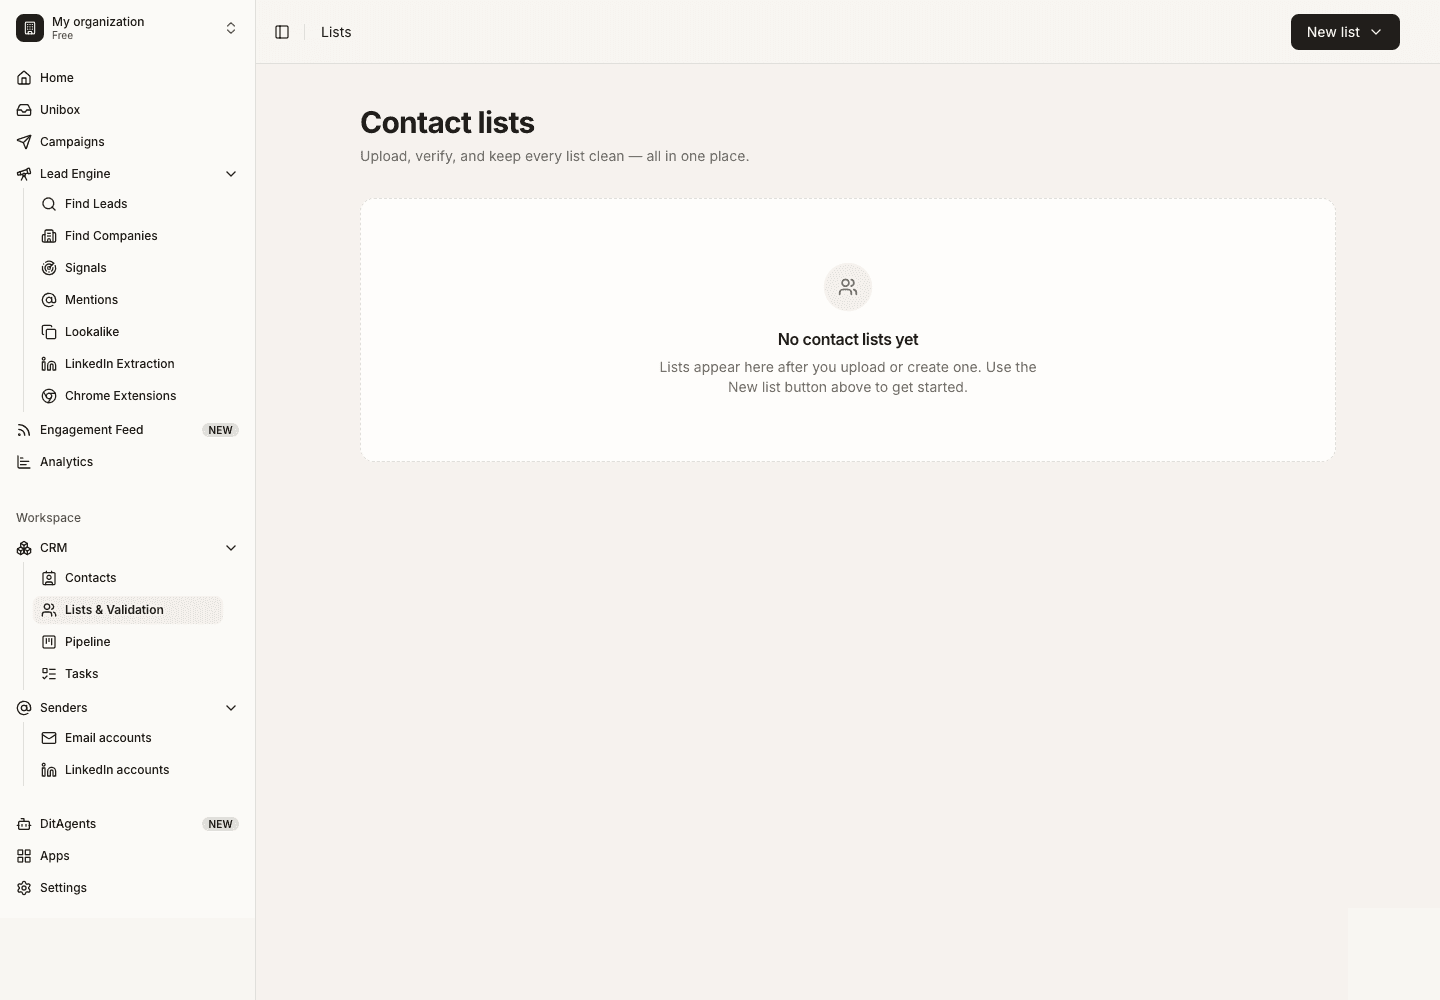
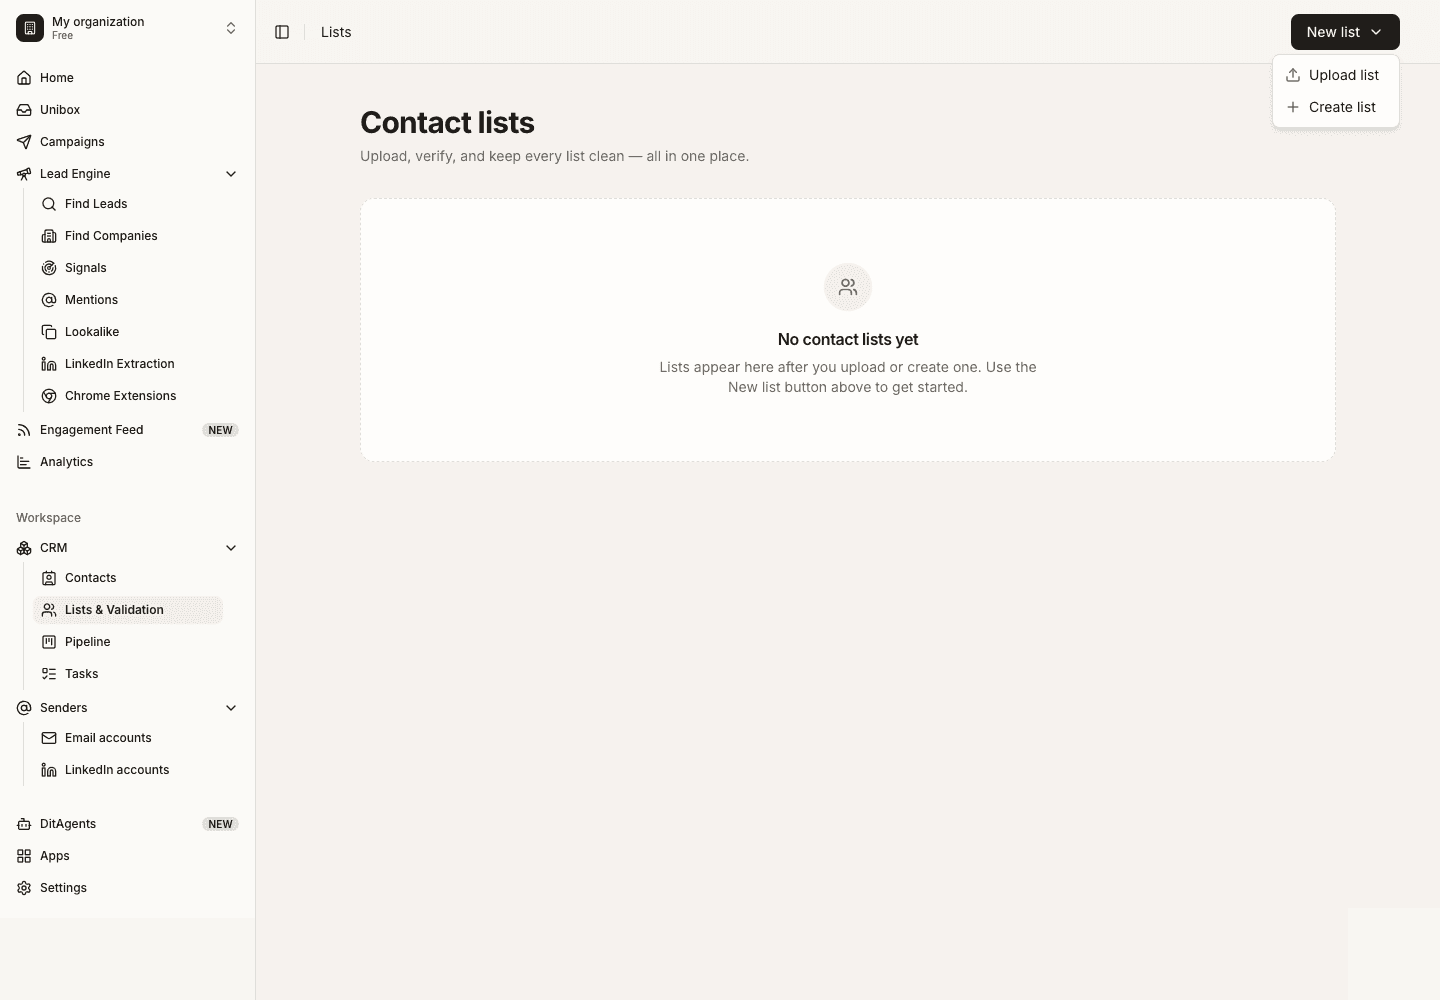
Open Lists
Go to Lists and choose the upload option. Use a dedicated list name so the source is easy to find later.
Upload the CSV
Select the CSV file and let DitLead read the columns. Fix file formatting issues before mapping fields.
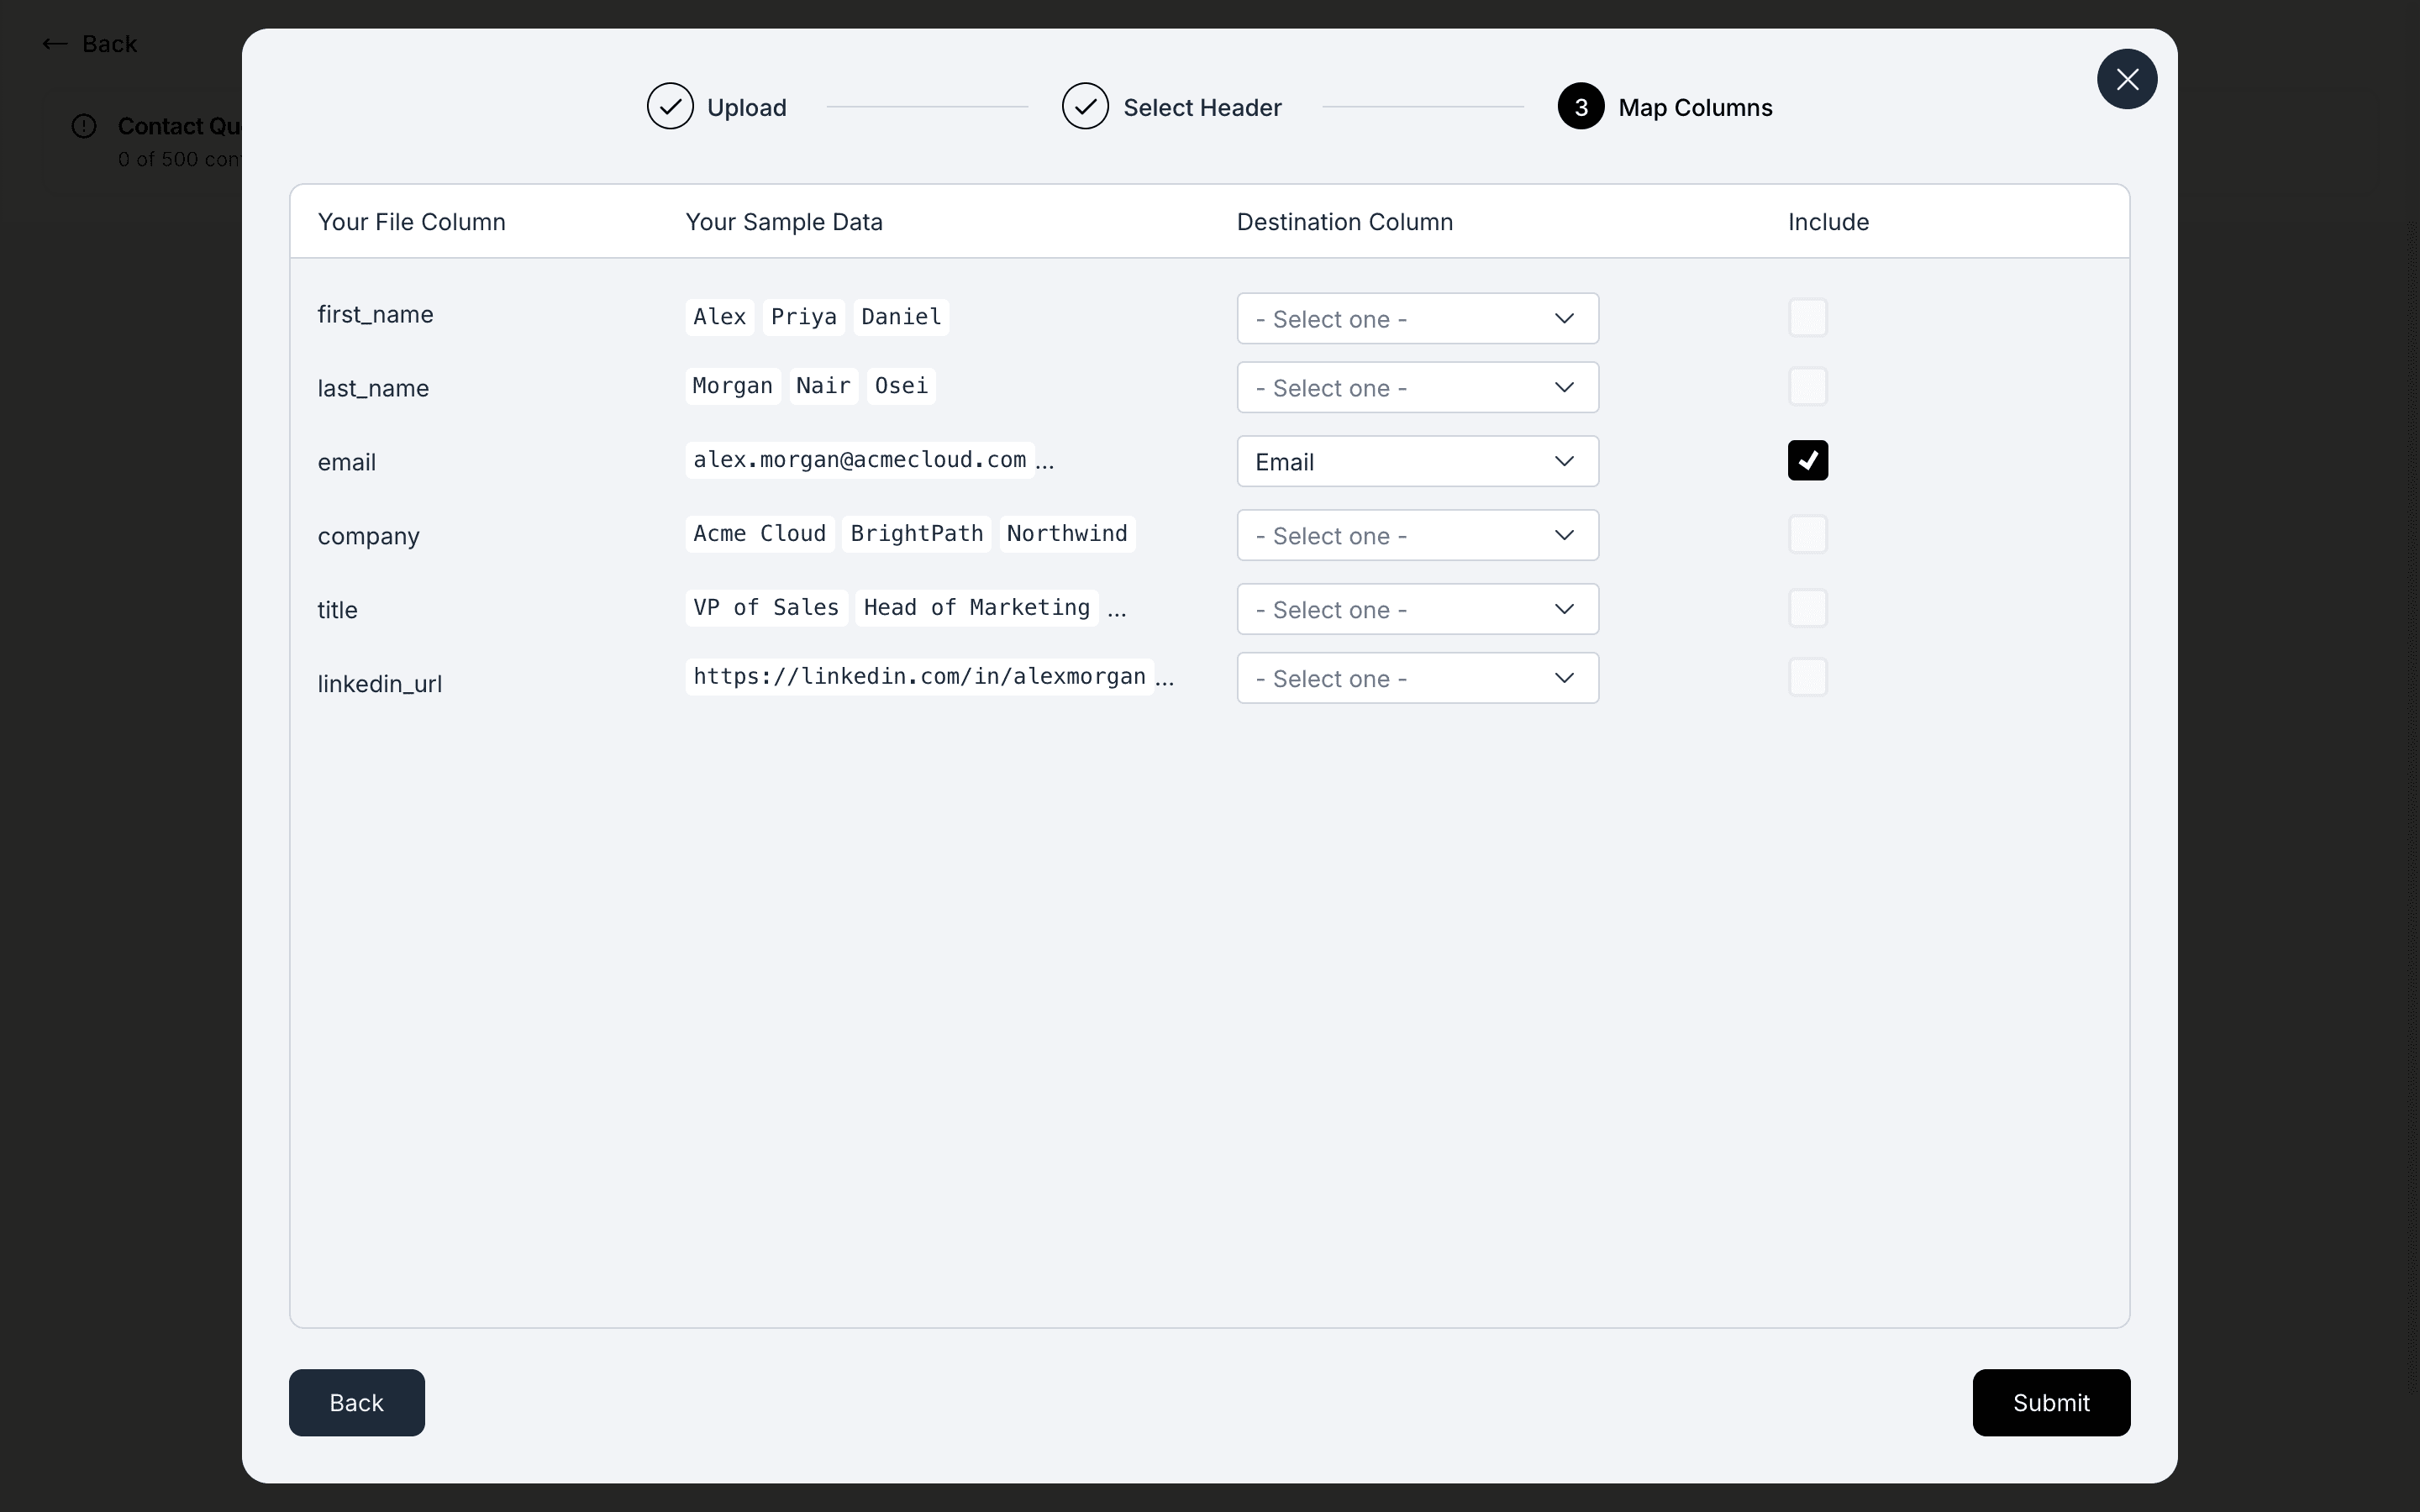
Map fields
Match CSV columns to DitLead fields such as email, name, company, phone, LinkedIn URL, and custom fields.
Review import results
Check invalid rows, duplicates, missing required fields, and validation status before using the list in a campaign.
Verify and prepare for campaigns
Run email verification where needed and remove contacts that are invalid, irrelevant, blocked, or duplicated.
What happens next
FAQ
What columns should my CSV include?
At minimum, include the fields needed for the workflow. Email is important for email campaigns, while LinkedIn URL helps LinkedIn workflows and enrichment.
Can I import custom fields?
Yes. Map custom columns during import so they can be used later for filtering, personalization, and review.
Start with a focused ICP, then use Lead Finder or LinkedIn extraction to create a cleaner audience.