
Before you start
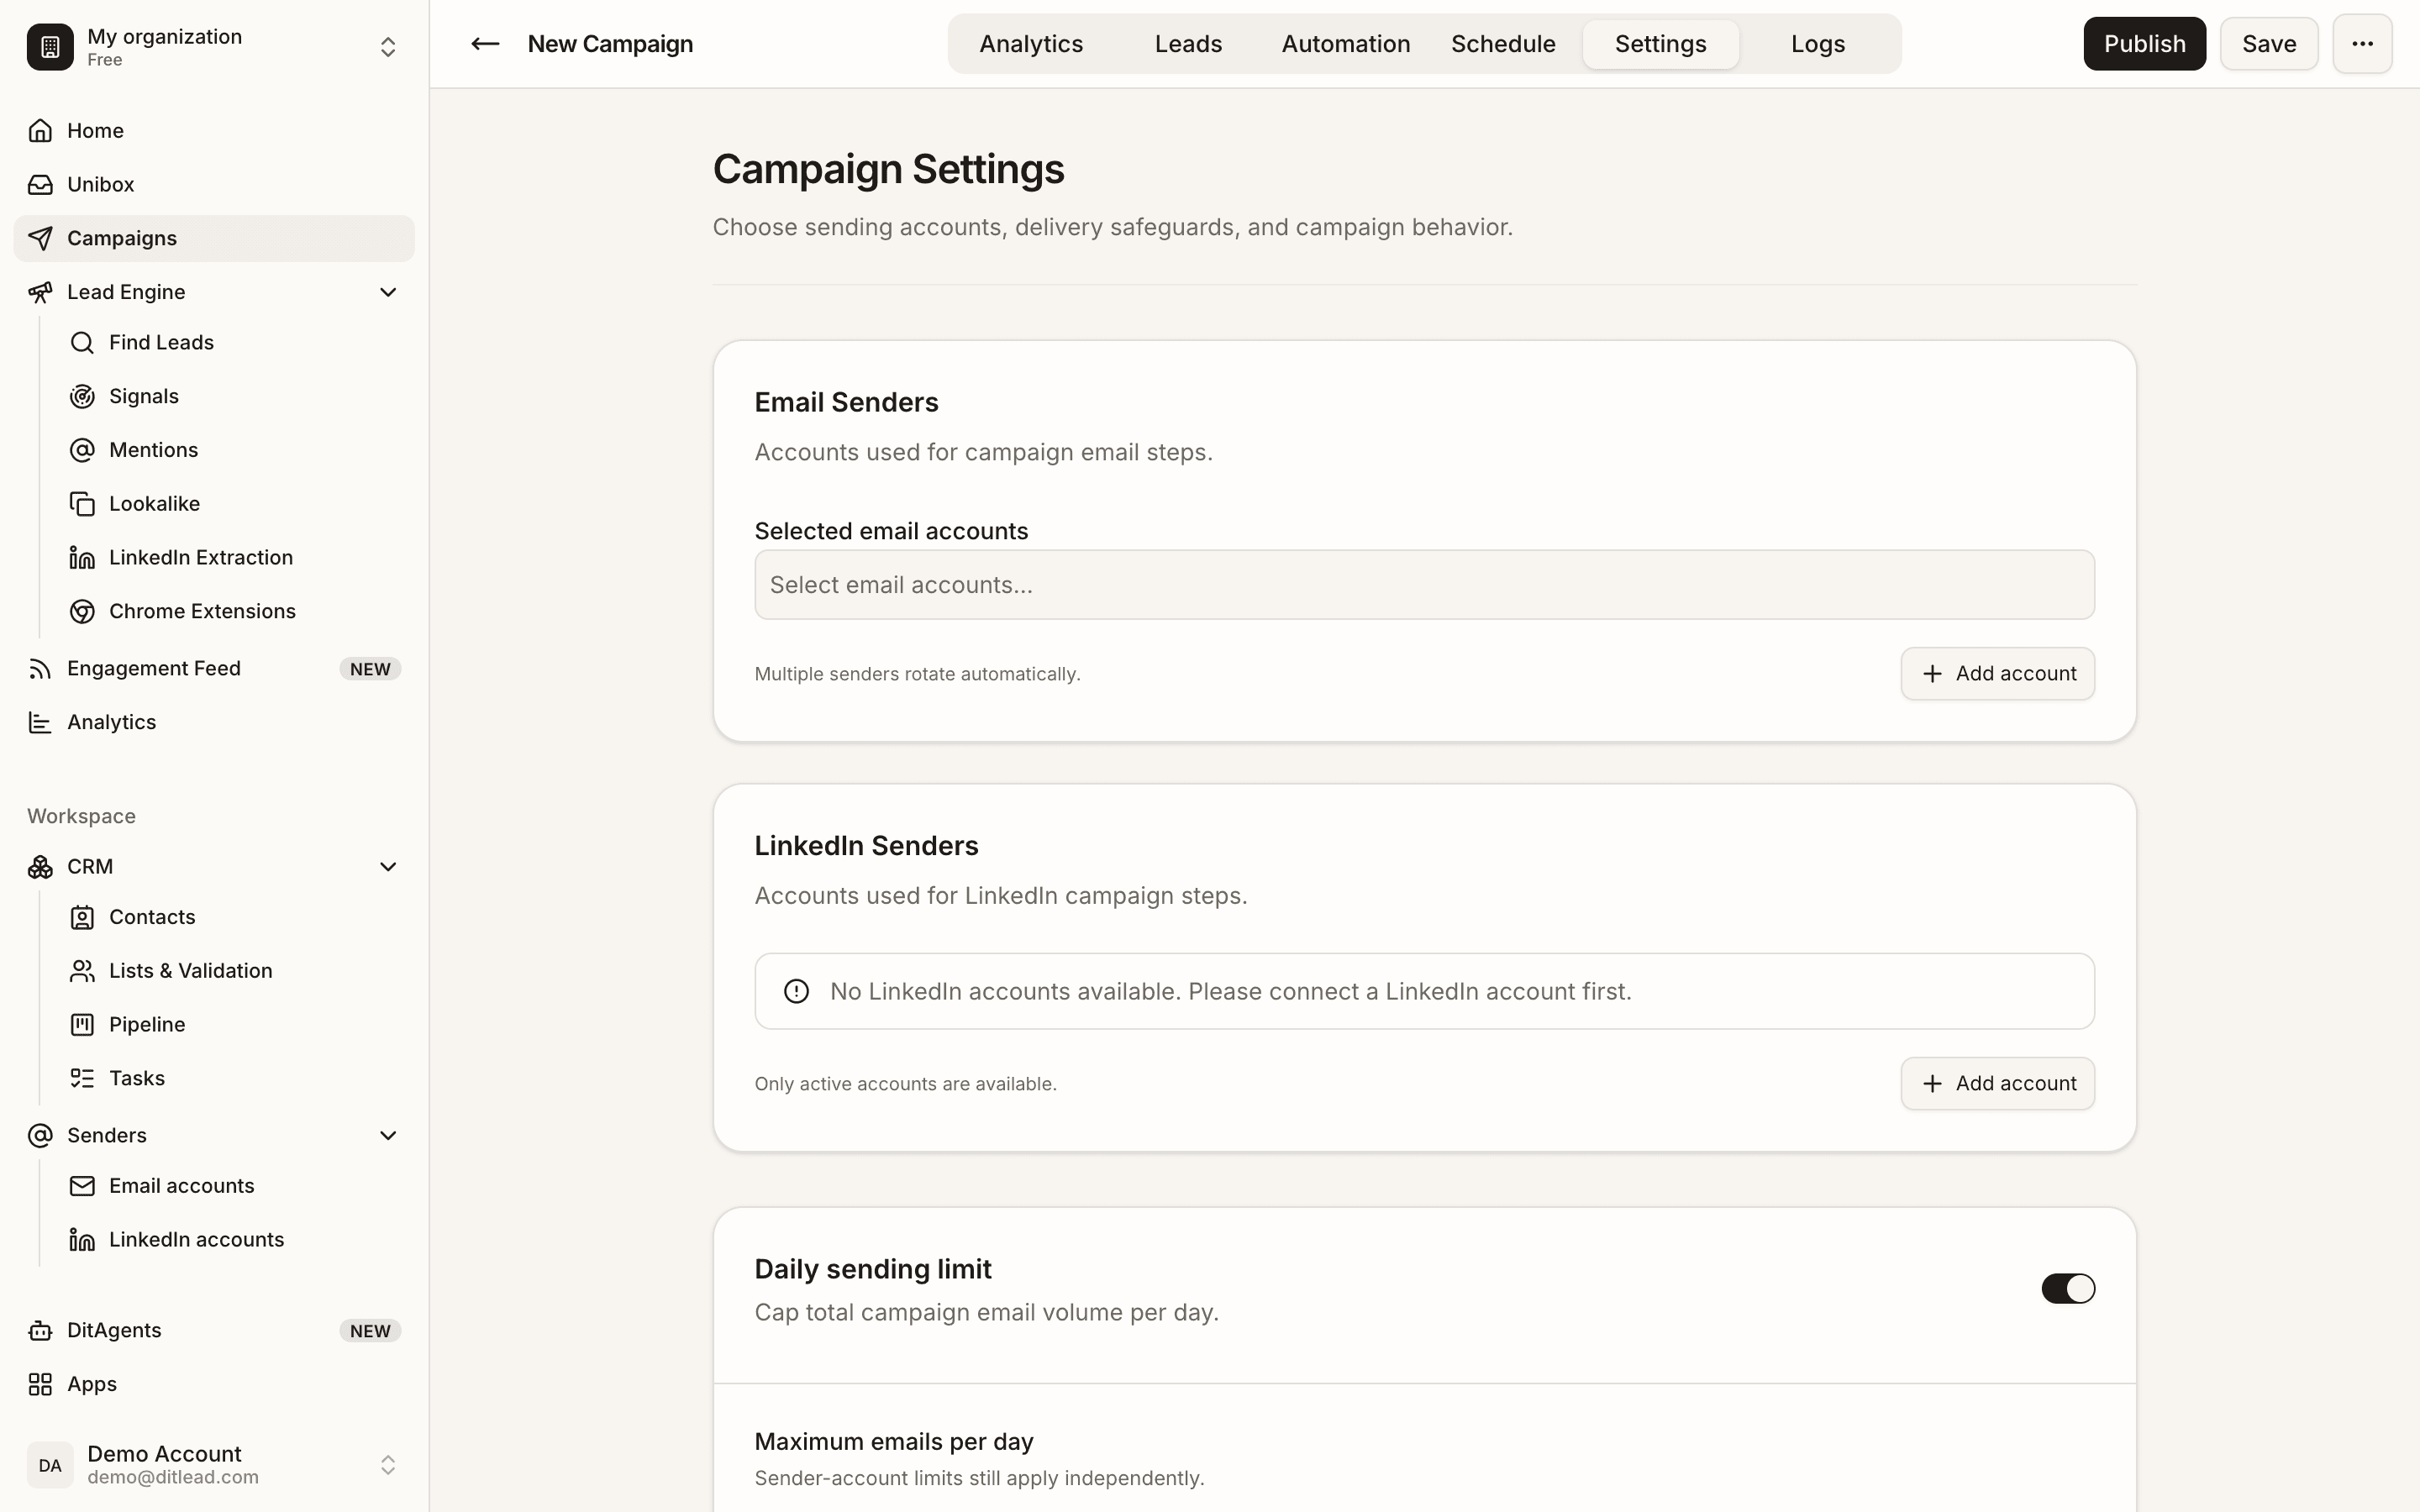
- Finish the campaign audience, sequence, and sender setup.
- Connect and validate every required channel account.
- Preview variables and personalization fields.
- For campaigns with LinkedIn outreach automation, confirm LinkedIn accounts, sequence timing, personalization, and channel-specific limits before launch.
Steps
Step 2
Review blockers
Read each blocker carefully. Common blockers include missing senders, invalid variables, empty audience, disconnected accounts, or LinkedIn outreach automation steps without a healthy LinkedIn sender.
Step 3
Fix required issues
Go back to the relevant campaign area and fix each required item before launch.
Step 4
Preview messages
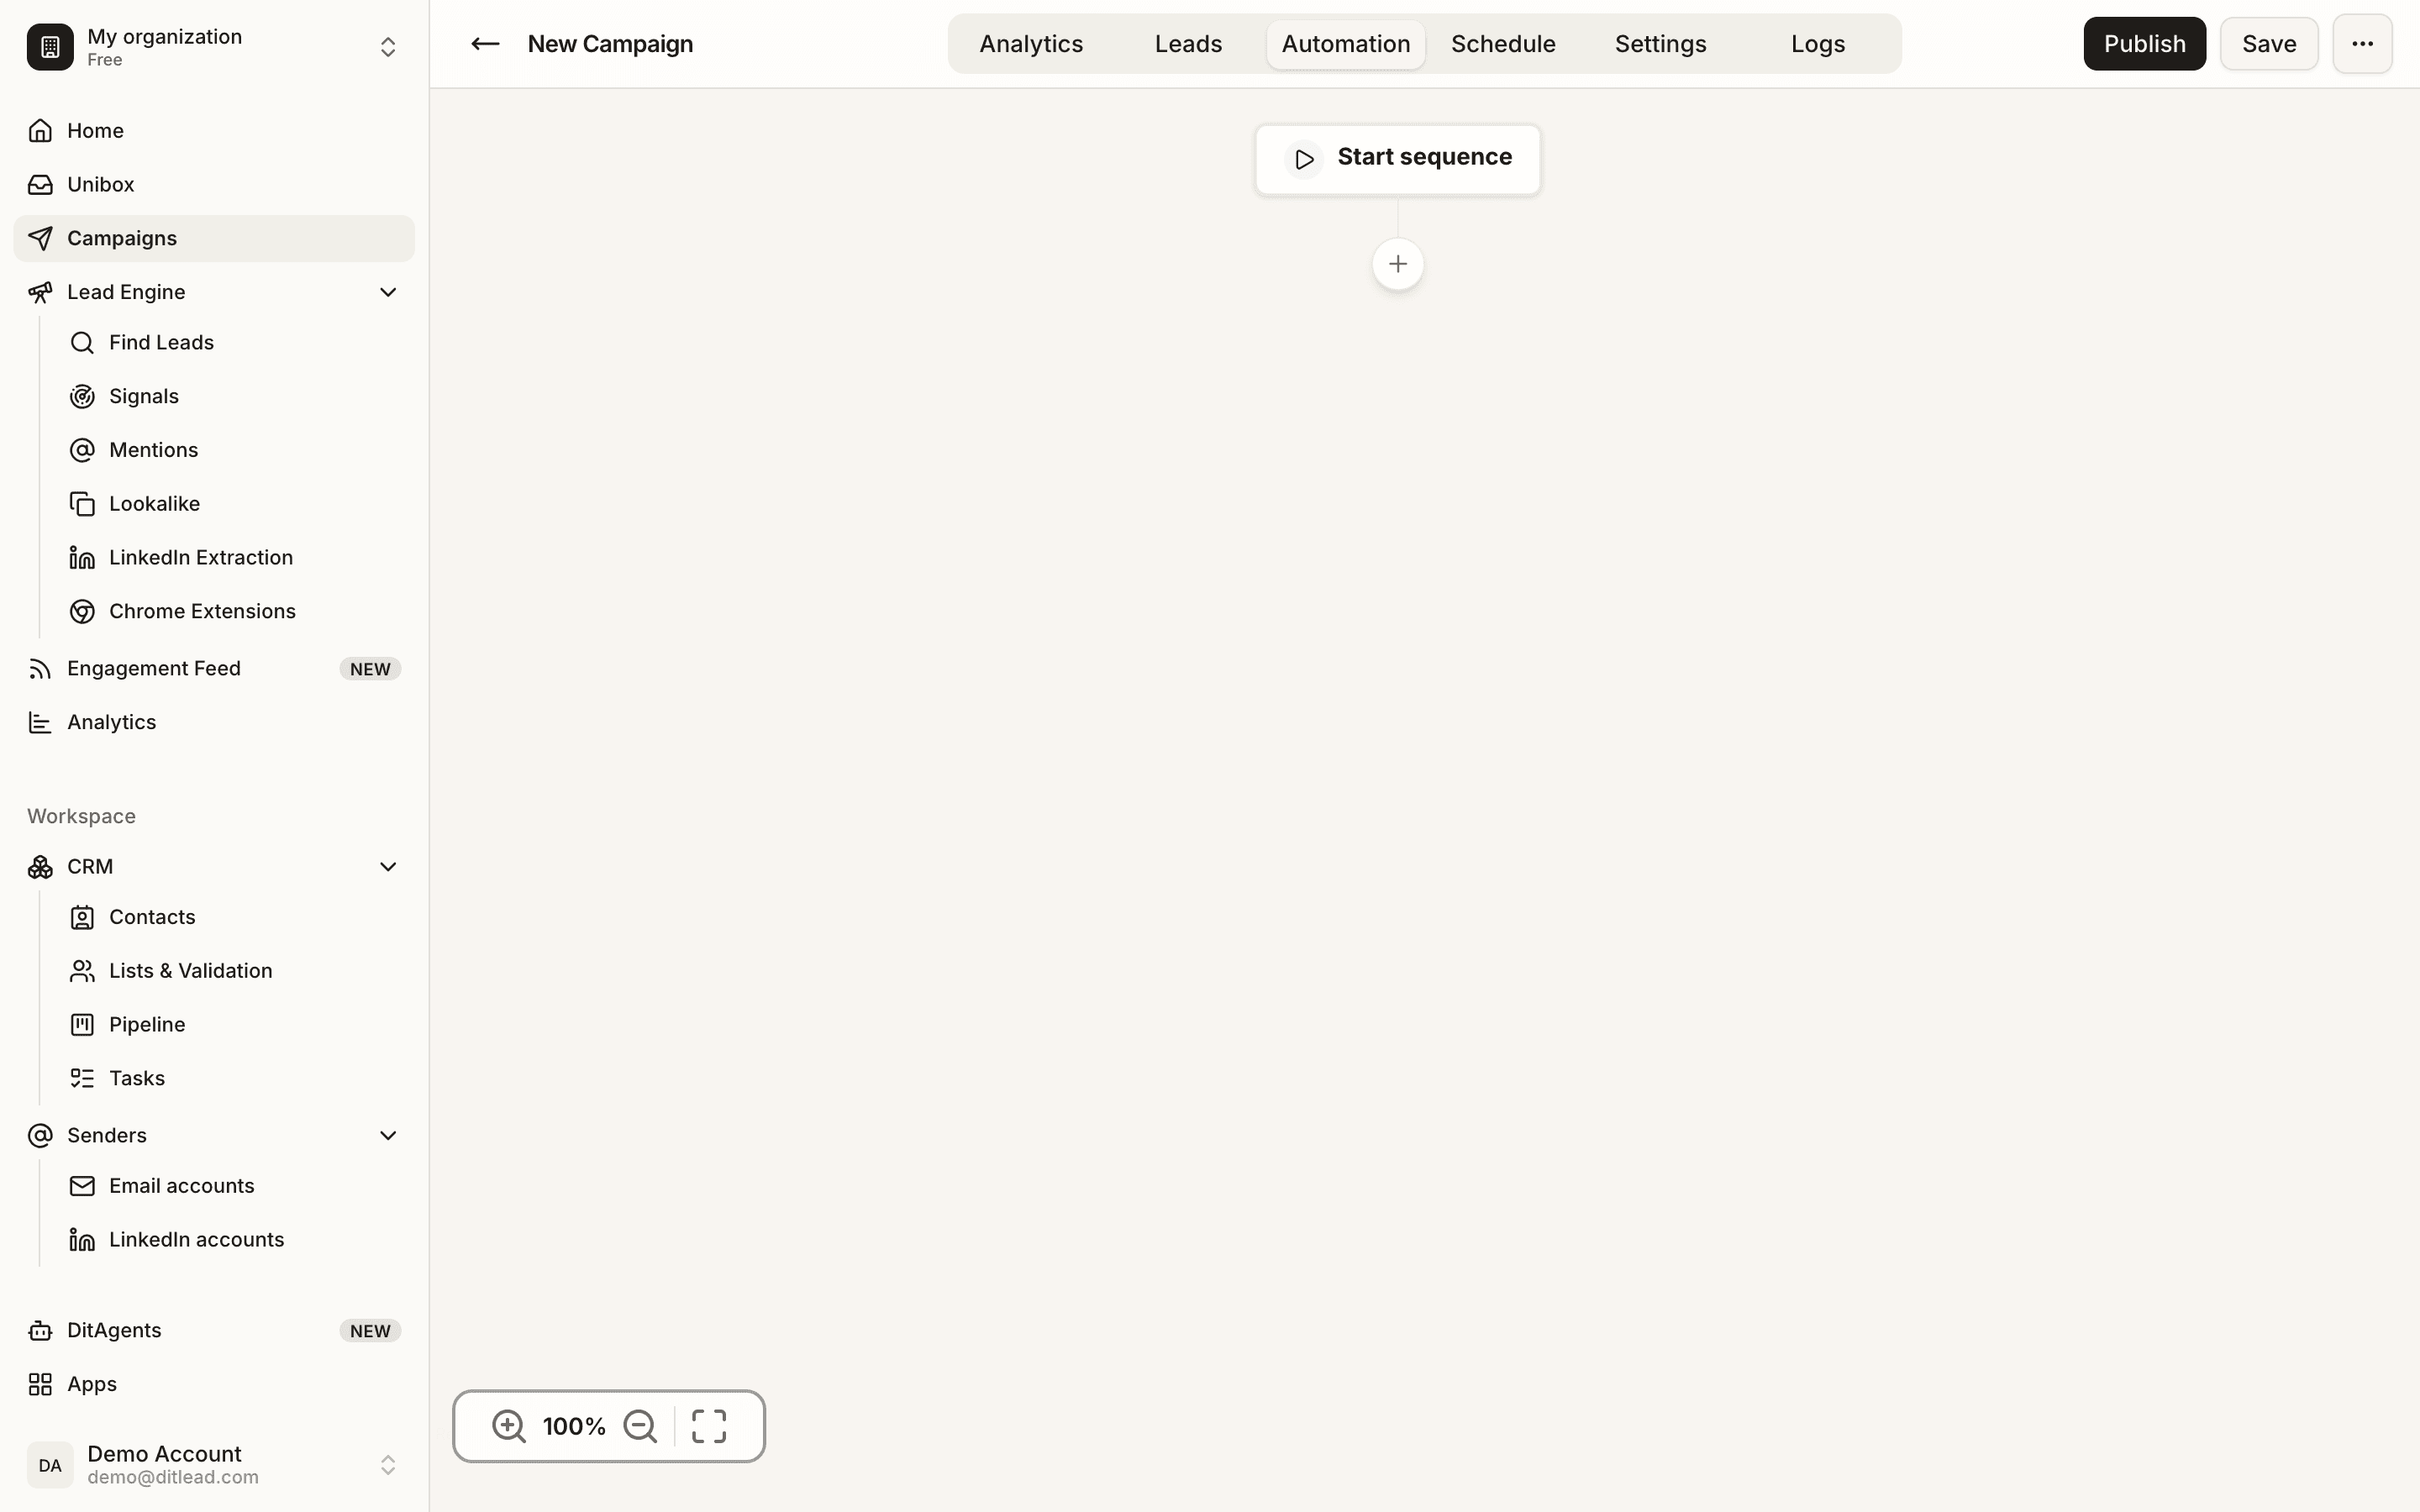
Preview the sequence as a recipient and check that variables resolve correctly.
Step 5
Run validation again
Re-run validation and launch only when the campaign passes the checks you require.
What happens next
FAQ
Can I ignore validation warnings?
Some warnings may not block launch, but they often point to risks worth reviewing.
Why did a campaign become invalid later?
Connected accounts, audience status, permissions, or variables can change after setup.
Review audience, senders, sequence copy, personalization, schedules, and validation blockers.
Review checklist
See it in the productExplore Campaigns