
Before you start
- Only workspace owners and admins can add or remove members and change roles. If you can't see the Users settings or the Add Member button, ask an owner or admin.
- Decide what access each teammate needs before inviting them, and use the least-privilege role that still lets them do their job.
- Keep sensitive areas — billing, API keys, user management, and campaign launch — limited to trusted owners and admins.
Steps
Open Users in Settings
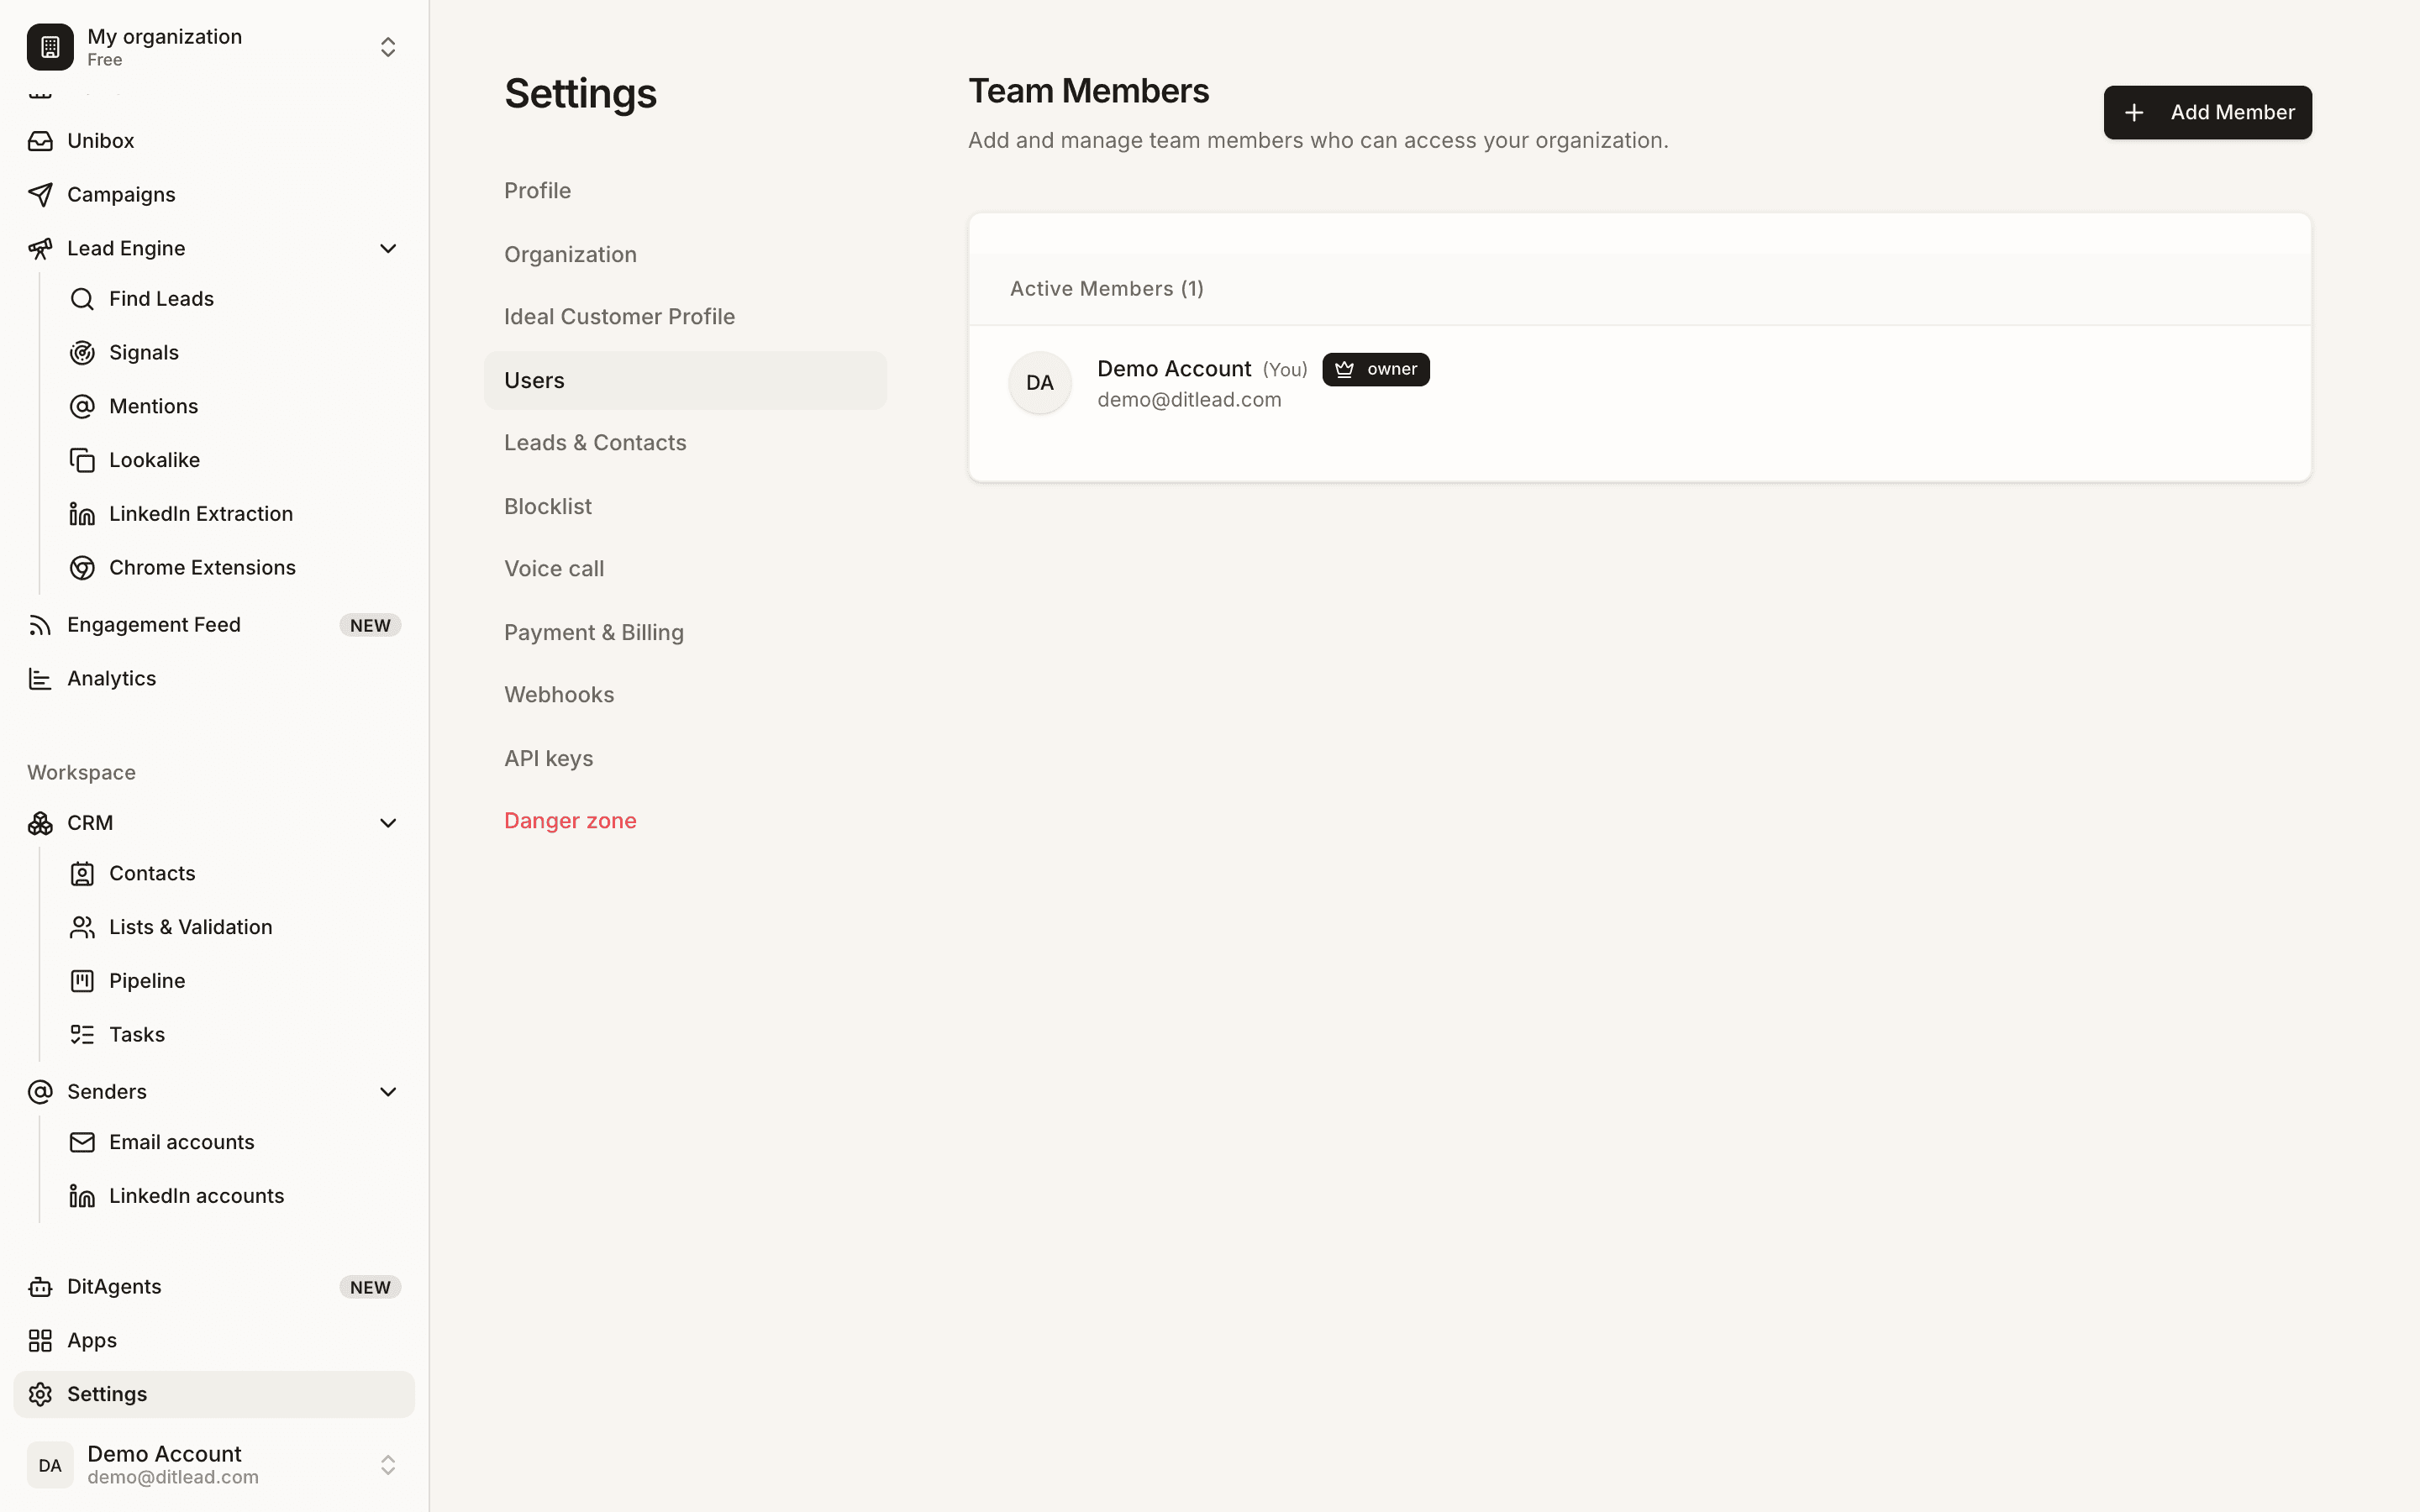
Go to Settings, then Users. This page lists everyone in the organization with their role. Only owners and admins can manage members here.
Add a member
Click Add Member and enter the teammate's email to invite them. They join the workspace with the role you assign. (Adding members requires a paid plan.)
Assign the right role
Choose a role that matches their responsibilities. Owners and admins can manage users, billing, and settings; members get day-to-day access without sensitive controls. Use the least privilege needed.
Save and confirm access
Save the invite and confirm the member appears in the list with the intended role. Ask them to sign in and refresh if a feature is still hidden.
Review sensitive access regularly
Periodically review who has owner or admin access, and downgrade or remove members when their responsibilities change.
What happens next
FAQ
Who can add or remove users?
Only workspace owners and admins can add members, remove them, or change roles. Members without admin access can view teammates but not manage them.
What roles can I assign?
Roles range from owner and admin — full management of users, billing, and settings — down to member-level access for everyday work. Assign the least-privilege role that fits the person's job.
Why can someone not see a feature?
The feature may be restricted by their role, the plan, workspace state, or account setup. Confirm their role and ask them to refresh their session.
Use the setup checklist before importing leads, connecting senders, or launching campaigns.