
Before you start
- Create API keys only for systems or teammates that truly need programmatic access.
- Decide what the key will be used for and where it will be stored before generating it.
- Use the narrowest permission and rotate keys when ownership or usage changes.
Steps
Open API key settings
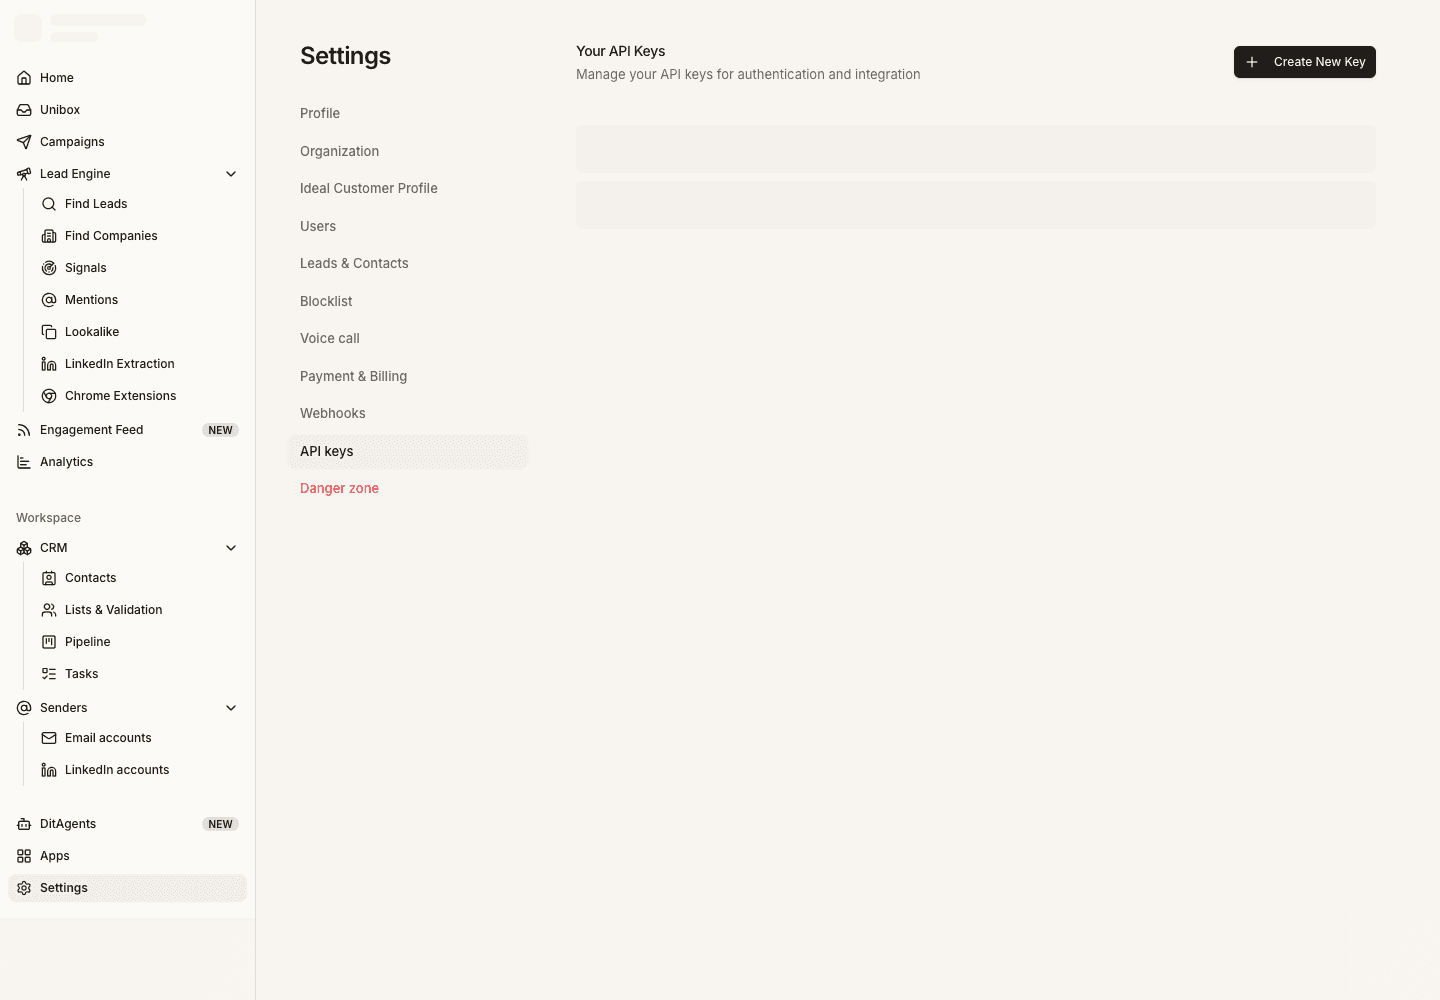
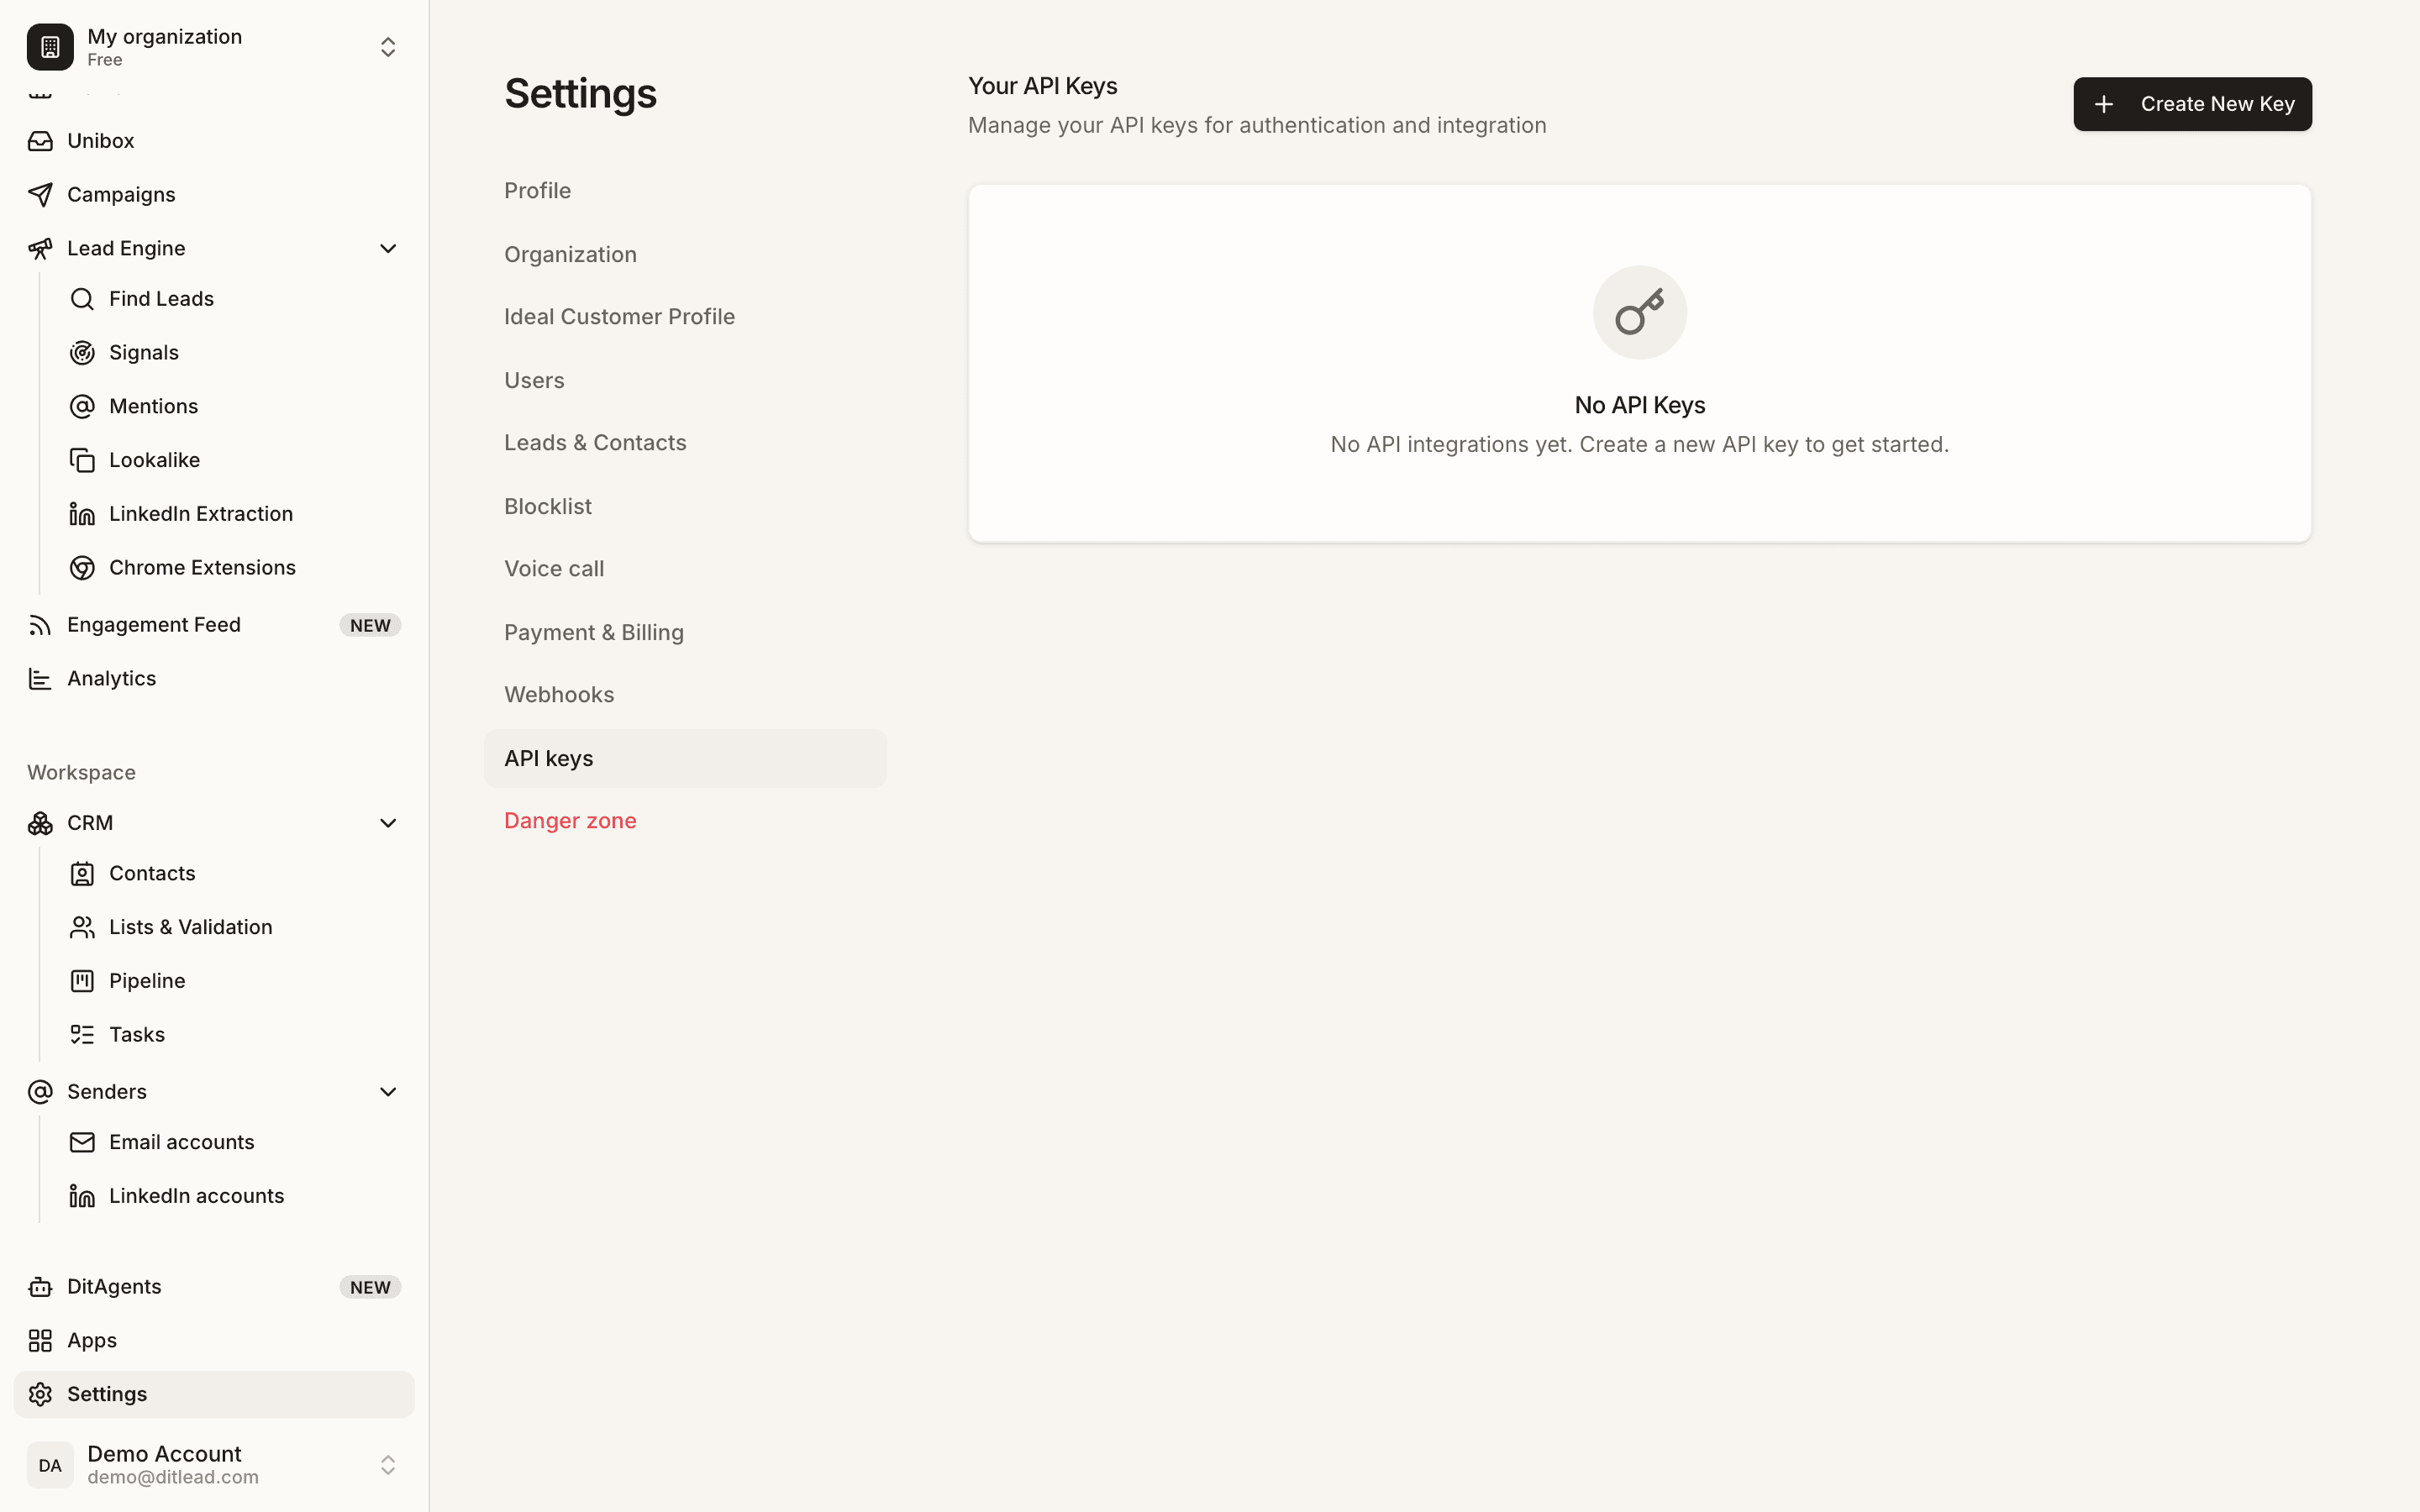
Go to Settings, then API Keys. This page is where admins create, review, rotate, and revoke workspace API access.
Create a key
Use a clear name that explains the integration or system using the key. Avoid names like test or key 1 because they are hard to audit later.
Store the key safely
Copy the key into your approved secret manager or integration settings. Do not paste it into shared documents, tickets, or campaign notes.
Review and revoke access
Periodically check active keys and revoke anything unused, unknown, or owned by someone who no longer manages the integration.
What happens next
FAQ
Who should create API keys?
Only workspace admins or approved technical owners should create and manage API keys.
What if a key is exposed?
Revoke it immediately, create a replacement if needed, and update the connected system with the new key.
Let agents research, enrich, or draft work, then review outputs before they affect your workspace.